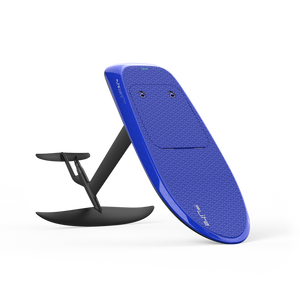


How to assemble Flitescooter
Congratulations on your purchase. Flitescooter will bring you years of fun and adventure. There’s nothing else like flying over water on quiet electric power.
Before you take Flite for the first time, be sure to read the User Guide in its entirety for important safety information. You’ll need to select a suitable riding location that is at least 1 metre / 3.3 feet deep with smooth water. We recommend wearing appropriate safety equipment, including a helmet and PFD / Impact Vest. You can read more about new Flitescooter safety innovations, including Fly Zones, wireless safety and speed limiting here.
Step 1 — Inflate
Unroll the Flitescooter bladder and place it around the carbon core. The image below from the User Guide provides more detailed instructions. Once the bladder is properly fitted, connect the pump hose to the valve and inflate bladder to 15-16 PSI. Once inflated, twist the pump hose anti-clockwise and re-fit the valve cover cap.
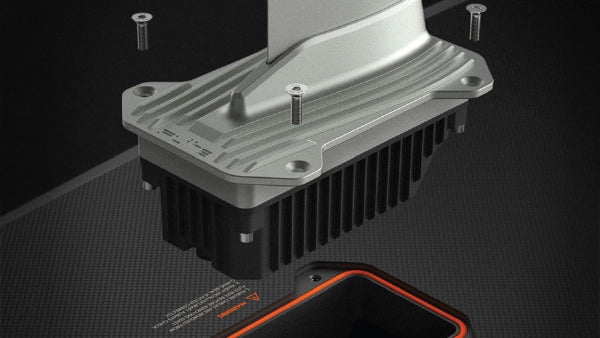
Step 2 — eFoil
Remove the eFoil from its case. Turn it upside down and place it in the Flitebox cavity. Ensure the two power cables feed through the cavity, so they can later be plugged into your Flitecell. Use the supplied hex key and fasteners to secure the eFoil to the carbon core.
Step 3 — Wings
With the eFoil still upside down, use the supplied hex key and screws to install your Cruiser 1800 front wing and Flite 500 stabiliser. We recommend using the 4 or 5 shim, which should be installed between the stabiliser wing and fuselage tail.

Step 4 — Carry it
Now that your board is inflated and eFoil installed, we recommend carrying it to the edge of the water. You can do this with a second person or if on your own, without the Flitecell so it’s lighter.
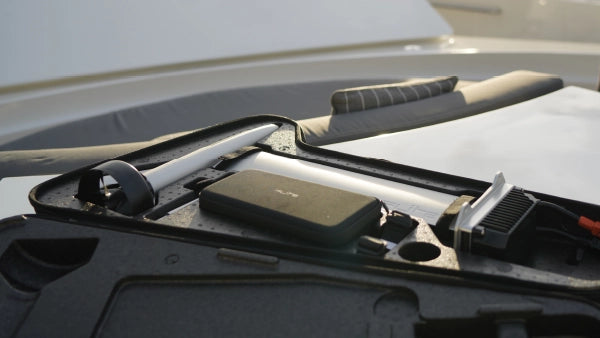
Step 5 — Flitecell
Carry your Flitecell, taking care not to get it wet, sandy or dirty. Place your Flitecell directly into the board cavity (insert the spacer first if you’re using Flitecell Sport). Connect the two power cables from Flitebox to the top of your Flitecell, taking care to connect orange to orange and black to black.
Carefully close the lid then twist and lock the two lid latches. A few seconds after the lid is shut in position, you will hear a ‘beep beep beep’ which signifies that the Flitecell and board have automatically turned on.
Step 6 — Flite Controller
Turn on Flite Controller by holding down the + button and Mode (bottom button) together for 3 seconds. It should automatically be paired from your initial setup. If it says ‘Disconnected’ then you will need to follow the pairing sequence in the User Guide.
Step 7 — Handlebars
Slide the Flite Controller wrist strap over the bottom of the handlebars. Slide it up to the top and lock it into place in the handlebar cradle. If you’re at the water’s edge, flip your board and walk out to waist deep water, carrying the handlebars. Once at depth, flip your board so the eFoil is in the water. Remove the handlebar lock on the board and insert the handlebars in the handlebar cavity. Turn the handlebar lock clockwise to lock it into place.
Step 8 — Arm the motor
Ensure you are wearing the wireless safety key. Hop on, stand up and arm the motor by pressing the thumb throttle all the way in then releasing it completely. Press and release the minus button then press the thumb throttle within the 5 second countdown window to activate Flite Jet.
Step 9 — Time to fly
Now you’re ready for the time of your life. Click here to learn how to ride Flitescooter eFoil in 3 easy steps, with a short video from David Trewern, Flite Founder & CEO and a longer video with riding instructions. For more detailed assembly instructions refer to the Flitescooter User Guide and other tips on our support page.
